Project: SLEEPING PORTRAIT |
Step: 1 Now that we have practiced a few different drawing techniques, let us apply them to a larger-scale project.
You will be doing a contour line drawing (do the contour line sketch first) of your table mate. Have them lie down and rest (this will be the only time you can sleep in class, so take advantage of it!). Don't commit to lines right away... with your pencil start off drawing rather light until the portions and spacing feel right. Then go back and start darkening your lines. Build up your values slowly.
Switch when finished so your partner, who is across from you, is now drawing you. Look at the examples below.

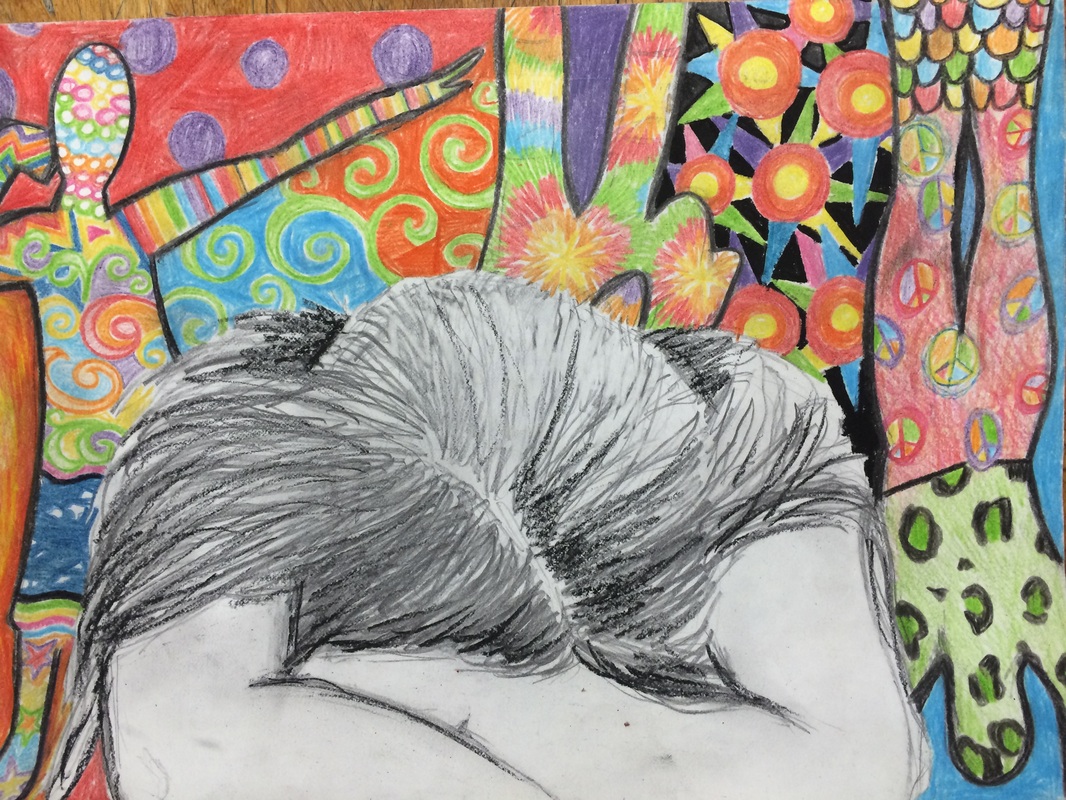
GREAT SPACING AND JUST ENOUGH DETAIL
|

GREAT AMOUNT OF DETAIL, NEEDS MORE SPACE ON TOP.
|
Step 2: After you've finished the contour line drawing of the person sleeping, do three contour line drawings of your hand in different poses behind the person sleeping. One hand should appear to be behind the person. This helps create space/depth and emphasizes the person by pushing them to the foreground (look, you've just used an element of art and a principle of design!)
Step 3: Stop and sketch Patterns
Next, flip to the pattern section in your sketchbook. Use these sketches to fill the background. You must have at least 5 different patterns. Enhance the patterns with unique color pencil techniques. Be bold and confident.
When finished, click on the "self-evaluation" button on the top right corner of this page. Fill it out and attach it to your drawing before handing it in.
BEAUTIFUL CONTRAST AND GREAT SPACING

TOO LIGHT... NEEDS MORE VALUE TO CREATE CONTRAST
|
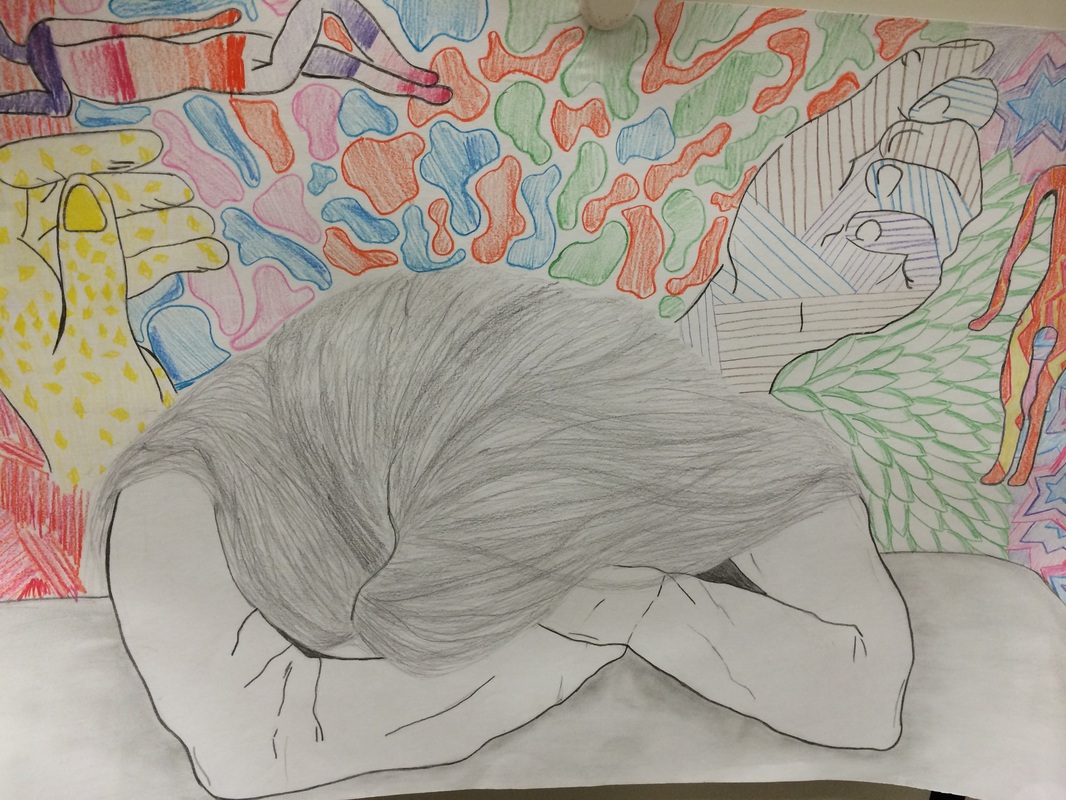
A LITTLE LIGHT. NICE SPACING.
|
